

How To Make a Flower Out of Beads: A Complete Guide to Beautiful, Natural-Looking Beaded Blooms
Why Beaded Flowers Remain Popular in Modern Crafting
Beaded flowers have a unique charm that few handmade crafts can match. Unlike fresh flowers that fade after a few days, a carefully crafted beaded bloom can last for years while maintaining its beauty. This lasting appeal makes them popular among hobbyists, jewelry makers, interior decorators, and gift creators. The growing interest in DIY crafting has also contributed to their popularity. Recent handicraft industry reports show continued growth in handmade and artisan products as more people seek personalized and creative alternatives to mass-produced goods.
Think about a real flower for a moment. Every petal curves naturally, every color shifts subtly, and every bloom has its own personality. The challenge; and the fun; of beaded flower making is recreating that natural beauty using simple materials like beads and wire. It is a process that combines art, patience, and a bit of engineering. Each bead becomes a brushstroke, and every twist of wire contributes to the final sculpture.
Modern crafters also appreciate the versatility of beaded flowers. They can become earrings, brooches, bouquet decorations, table centerpieces, wedding accessories, or home décor pieces. Because of this flexibility, learning the fundamentals of flower construction opens the door to countless creative possibilities.
Materials and Tools Needed Before You Begin
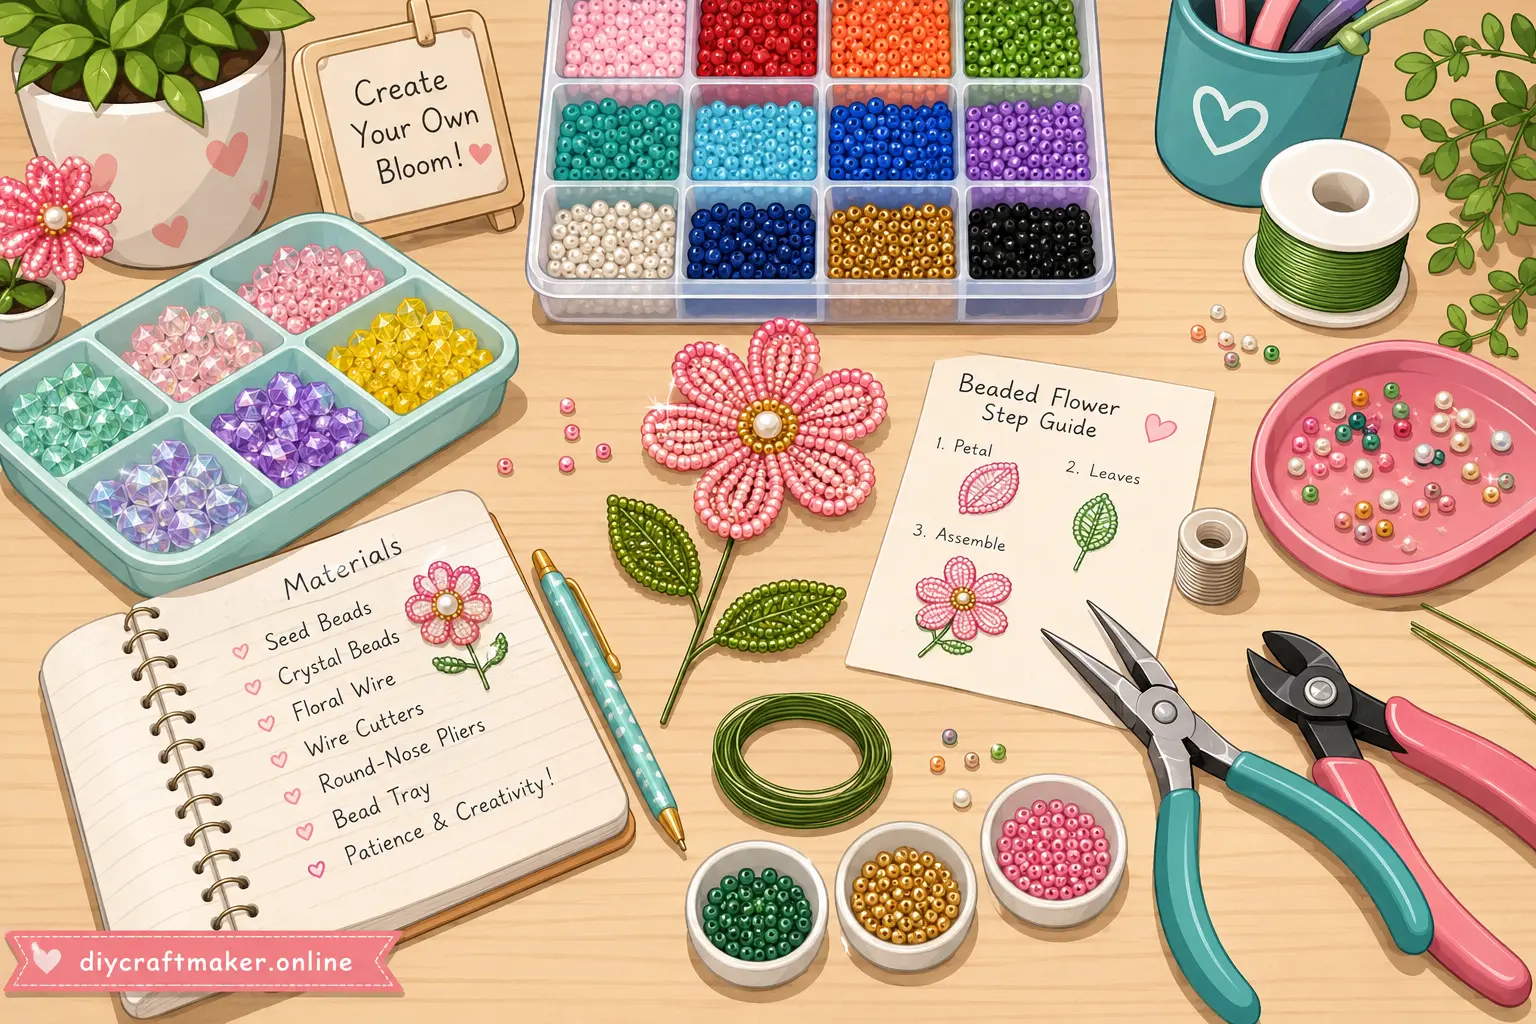
Before creating your first flower, gathering the right supplies is essential. The quality of your finished bloom often depends on the materials you choose at the beginning. Fortunately, most tools are affordable and easy to find through craft stores or online suppliers.
The basic materials include seed beads, crystal beads, floral wire, wire cutters, round-nose pliers, and flat-nose pliers. Some crafters also use floral tape to wrap stems and provide a polished appearance. For larger flowers, thicker gauge wire offers better support. For delicate petals, thinner wire provides greater flexibility and easier shaping.
Choosing the Right Beads
Seed beads are often the preferred choice because they are lightweight and available in countless colors. Czech and Japanese seed beads are especially popular due to their consistent sizing and quality. Uniform bead size helps create symmetrical petals and professional-looking designs.
Selecting Suitable Wire
Wire acts as the skeleton of your flower. If the wire is too thin, the flower may collapse under its own weight. If it is too thick, shaping petals becomes difficult. Many beginners find that medium-gauge wire strikes the ideal balance between flexibility and strength.
The goal is to create a framework that remains sturdy while still allowing natural curves and adjustments during assembly.
Picking Bead Sizes and Colors That Create Natural Shapes
One of the most important skills in beaded flower making is understanding how bead size and color influence realism. A flower made with identical beads in a single color may look neat, but it often lacks the visual depth found in nature.
Understanding Scale and Proportion
Nature rarely follows perfect uniformity. Larger petals usually appear toward the outside of a bloom, while smaller petals cluster near the center. Using different bead sizes can help replicate this effect. Larger beads create volume and prominence, while smaller beads add delicate detail.
For example, a rose design may use smaller seed beads near the center and slightly larger beads on outer petals. This subtle variation creates the illusion of growth and natural layering.
Creating Realistic Color Gradients
Color selection plays an equally important role. Real flowers rarely display a single flat shade. A pink rose often contains darker tones near the center and lighter tones near the edges. A sunflower transitions from deep brown centers to vibrant yellow petals.
Using three or four complementary shades creates depth and realism. Transparent beads can mimic dew-like softness, while matte beads often resemble natural petal textures. Mixing finishes carefully can transform a simple project into a remarkably lifelike floral sculpture.
| Flower Type | Center Color | Petal Colors | Recommended Finish |
|---|---|---|---|
| Rose | Deep Pink | Pink to Light Pink | Matte & Transparent |
| Daisy | Yellow | White | Opaque |
| Sunflower | Brown | Yellow & Gold | Matte |
| Lily | Green | White & Cream | Pearl Finish |
Basic Wire Techniques That Make Assembly Easier
Wirework forms the foundation of every successful beaded flower. Even the most beautiful beads cannot compensate for weak construction techniques. Learning a few basic wire methods early can save hours of frustration later.
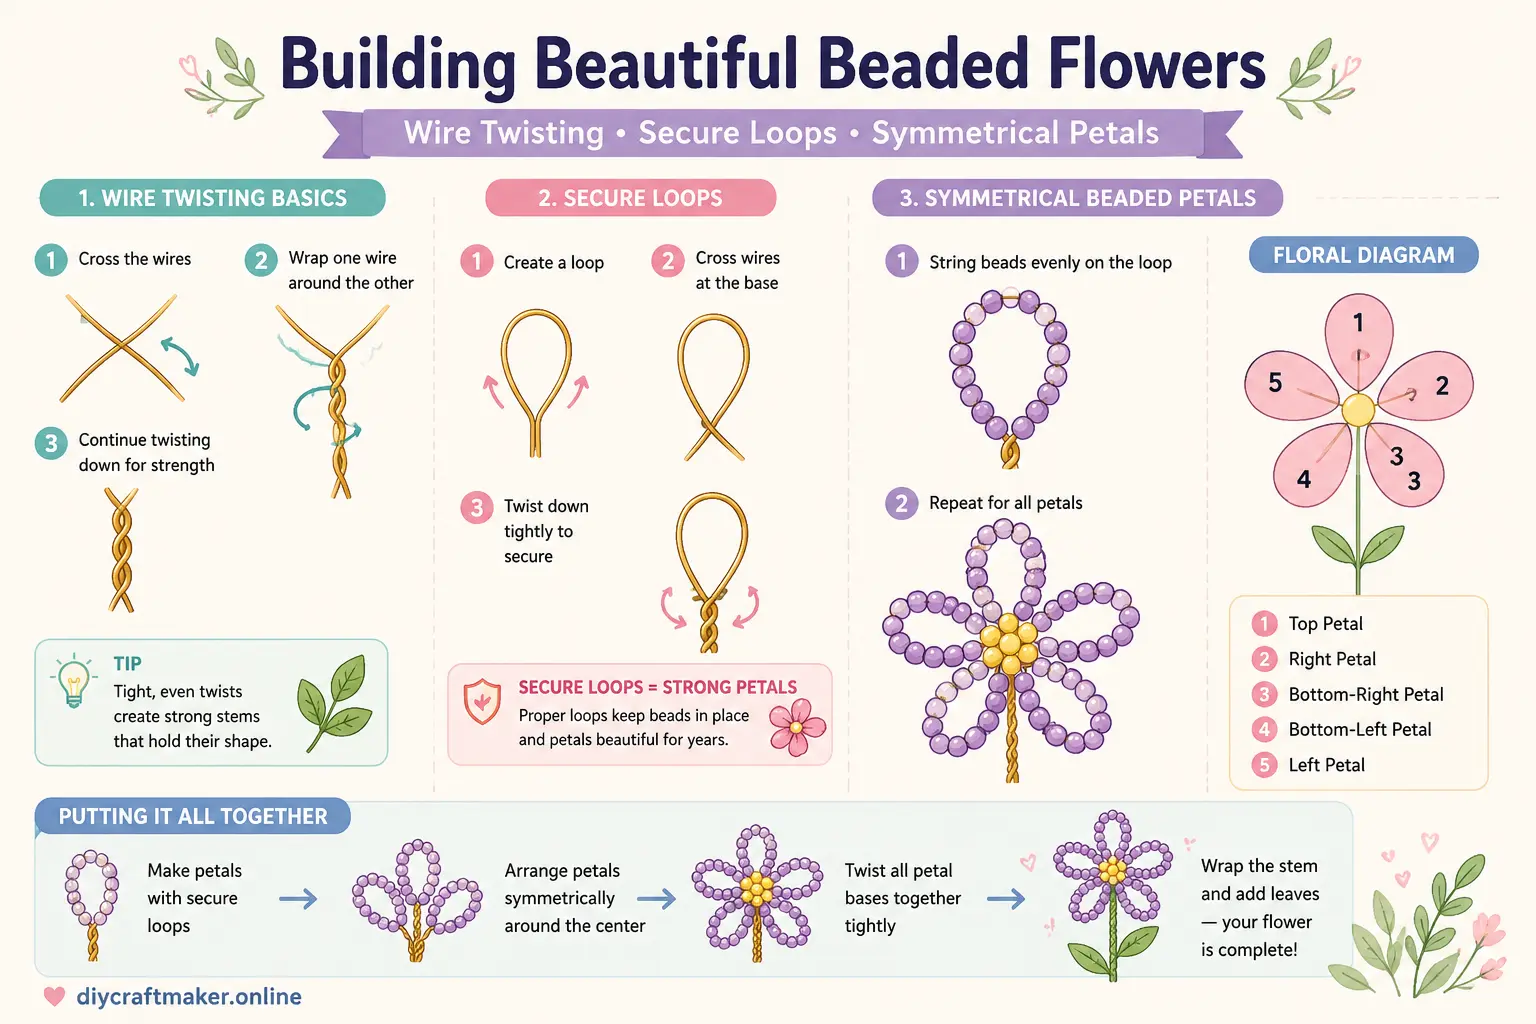
Forming Secure Loops
Loops serve as anchors that prevent beads from slipping off the wire. A properly formed loop should be tight, round, and positioned exactly where support is needed. Loose loops often create instability and can lead to petal distortion over time.
Many beginners underestimate the importance of consistent loop sizes. Uniform loops help petals align evenly during assembly and contribute to overall symmetry.
Twisting and Anchoring Methods
Twisting wire is more than simply wrapping one piece around another. Consistent tension is essential. Twists that are too tight may weaken the wire, while loose twists reduce structural integrity.
A useful habit is making small, controlled twists instead of long aggressive turns. This produces cleaner connections and reduces the risk of breakage. As you gain experience, you’ll discover that precise wirework often determines whether a flower appears professional or homemade.
Forming Petals with Balanced Spacing and Symmetry
Symmetry gives flowers their visual harmony. While natural flowers are not perfectly symmetrical, balanced petal placement creates a pleasing appearance that feels authentic.
Building Consistent Petal Shapes
Start by creating one petal and using it as a reference template. Consistency becomes much easier when each new petal is compared to the original. Small differences may seem insignificant during construction but become obvious when the flower is assembled.
Pay close attention to petal width, length, and curvature. Imagine each petal as a member of an orchestra. If one instrument plays too loudly, the entire performance feels off balance.
Avoiding Uneven Arrangements
Spacing matters just as much as shape. Petals placed too closely together can appear crowded, while excessive gaps make the flower look incomplete. Rotating the flower frequently during assembly helps identify uneven spacing before the structure becomes permanent.
Patience is crucial here. Many experienced beaders spend almost as much time adjusting petals as they do creating them.
Building a Strong Flower Center That Holds Securely
The flower center functions as the structural heart of the entire bloom. Every petal ultimately depends on this central anchor for support.
Common Center Designs
Flower centers can be simple or elaborate. A basic design may involve a cluster of seed beads twisted into a compact bundle. More advanced designs might incorporate crystals, pearls, or specialty beads to create visual interest.
The choice depends largely on the flower type being replicated. Sunflowers benefit from dense textured centers, while lilies often require smaller and more delicate focal points.
Reinforcement Techniques
Strengthening the center is essential for durability. Multiple wire passes through central beads can dramatically improve stability. Reinforcing critical connection points prevents loosening after repeated handling.
A strong center acts like the foundation of a building. Without it, even perfectly crafted petals may eventually shift, sag, or separate.
Layering Beads for More Texture and Depth
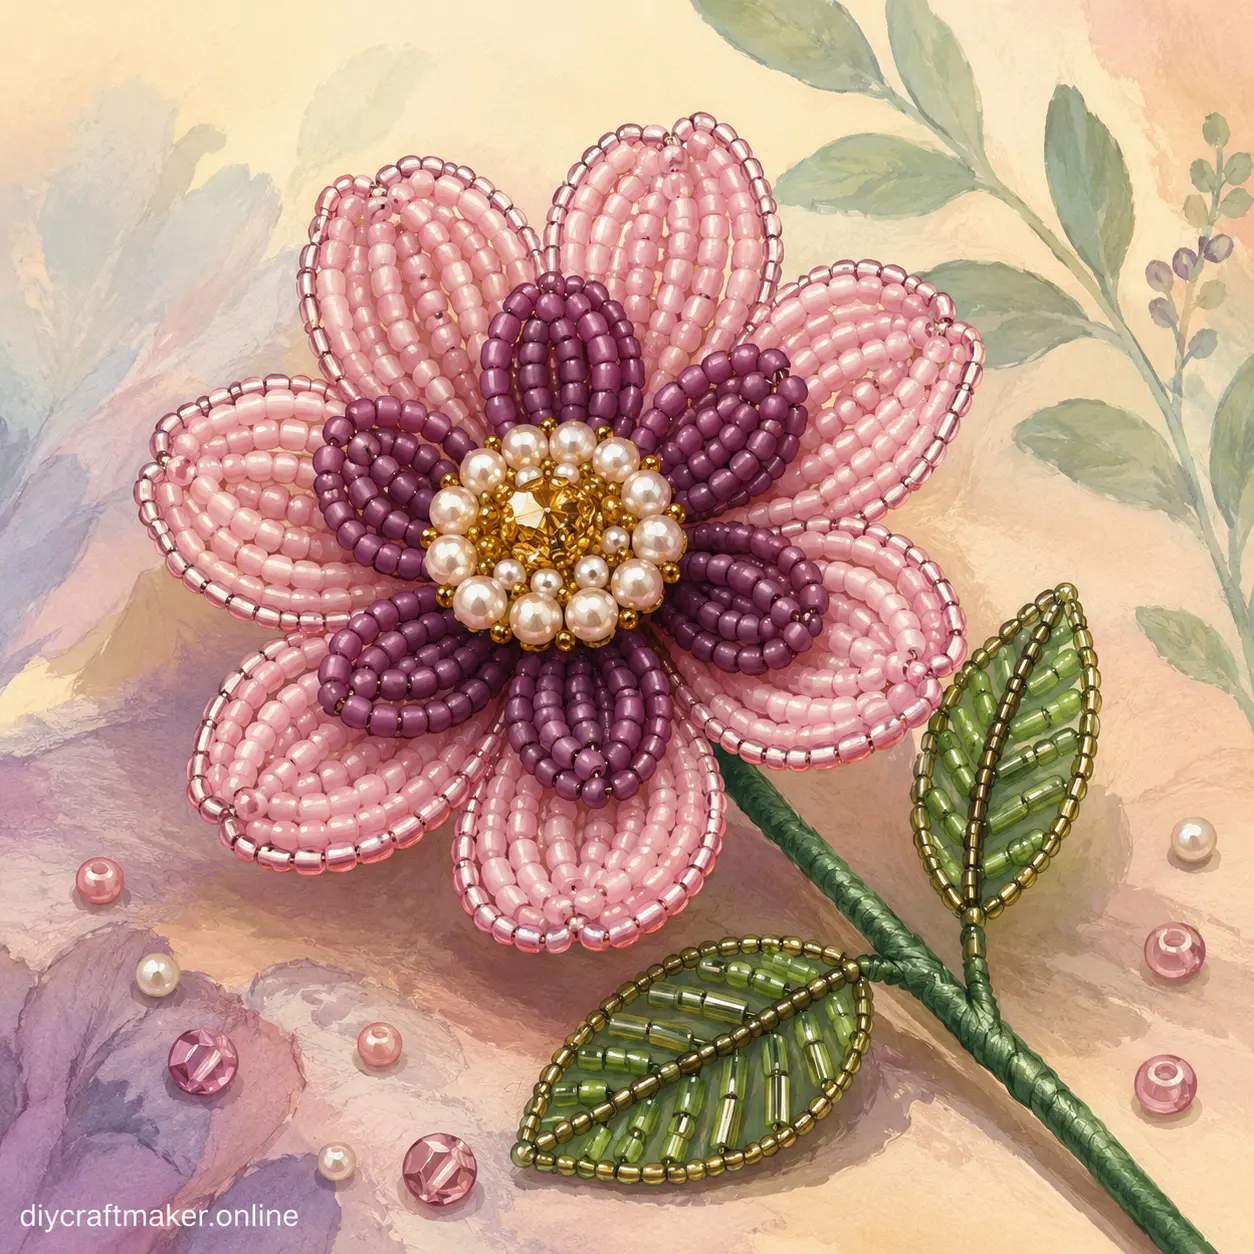
Layering transforms a flat design into a dimensional bloom. This technique introduces complexity, realism, and visual richness.
Multi-Layer Petal Structures
Instead of using a single row of petals, create multiple concentric layers. Inner petals should be smaller and more tightly arranged. Outer petals can gradually increase in size and openness.
This arrangement mimics the way flowers naturally unfold as they mature. The resulting depth creates shadows and highlights that make the flower appear more lifelike.
Using Different Bead Finishes
Combining bead finishes can dramatically enhance texture. Matte beads soften the appearance, while metallic finishes add highlights. Pearl-coated beads create elegance, and transparent beads introduce luminosity.
Recent crafting trends show increasing interest in personalized and decorative handmade projects, making textured beadwork particularly appealing for modern home décor and accessories.
Turning Separate Petals into a Finished Bloom
Assembly is where all individual components come together. This stage requires careful planning because the final arrangement determines the flower’s overall appearance.
Assembly Order
Begin with the center, then add the smallest inner petals. Gradually attach larger petals around the outside. Working from the inside outward provides better control and prevents overcrowding.
After each layer is attached, examine the bloom from multiple angles. Small adjustments become more difficult once additional layers are added.
Final Shaping and Adjustment
The final shaping stage often separates good flowers from exceptional ones. Slightly bend petals, vary angles, and introduce gentle curves. These adjustments create movement and prevent the flower from appearing rigid.
Nature thrives on subtle imperfections. A flower that is too perfect can actually look artificial. Strategic variation creates authenticity.
Common Beading Mistakes That Affect Shape
Many beginners encounter similar challenges. Recognizing these issues early can significantly improve results.
Some of the most common mistakes include:
- Using inconsistent bead sizes.
- Applying uneven wire tension.
- Overcrowding petals.
- Choosing colors without natural transitions.
- Building weak centers.
- Skipping reinforcement steps.
Another frequent problem is rushing through the shaping process. Creating petals is exciting, but careful adjustment afterward often determines the final quality. Think of shaping as polishing a sculpture. The details matter.
Learning from mistakes is part of every crafter’s journey. Even experienced artists regularly refine their techniques to achieve more realistic results.
Creative Ways to Use Beaded Flowers in Crafts and Decor
Once you’ve mastered flower construction, countless creative opportunities become available. Beaded flowers can enhance almost any handmade project.
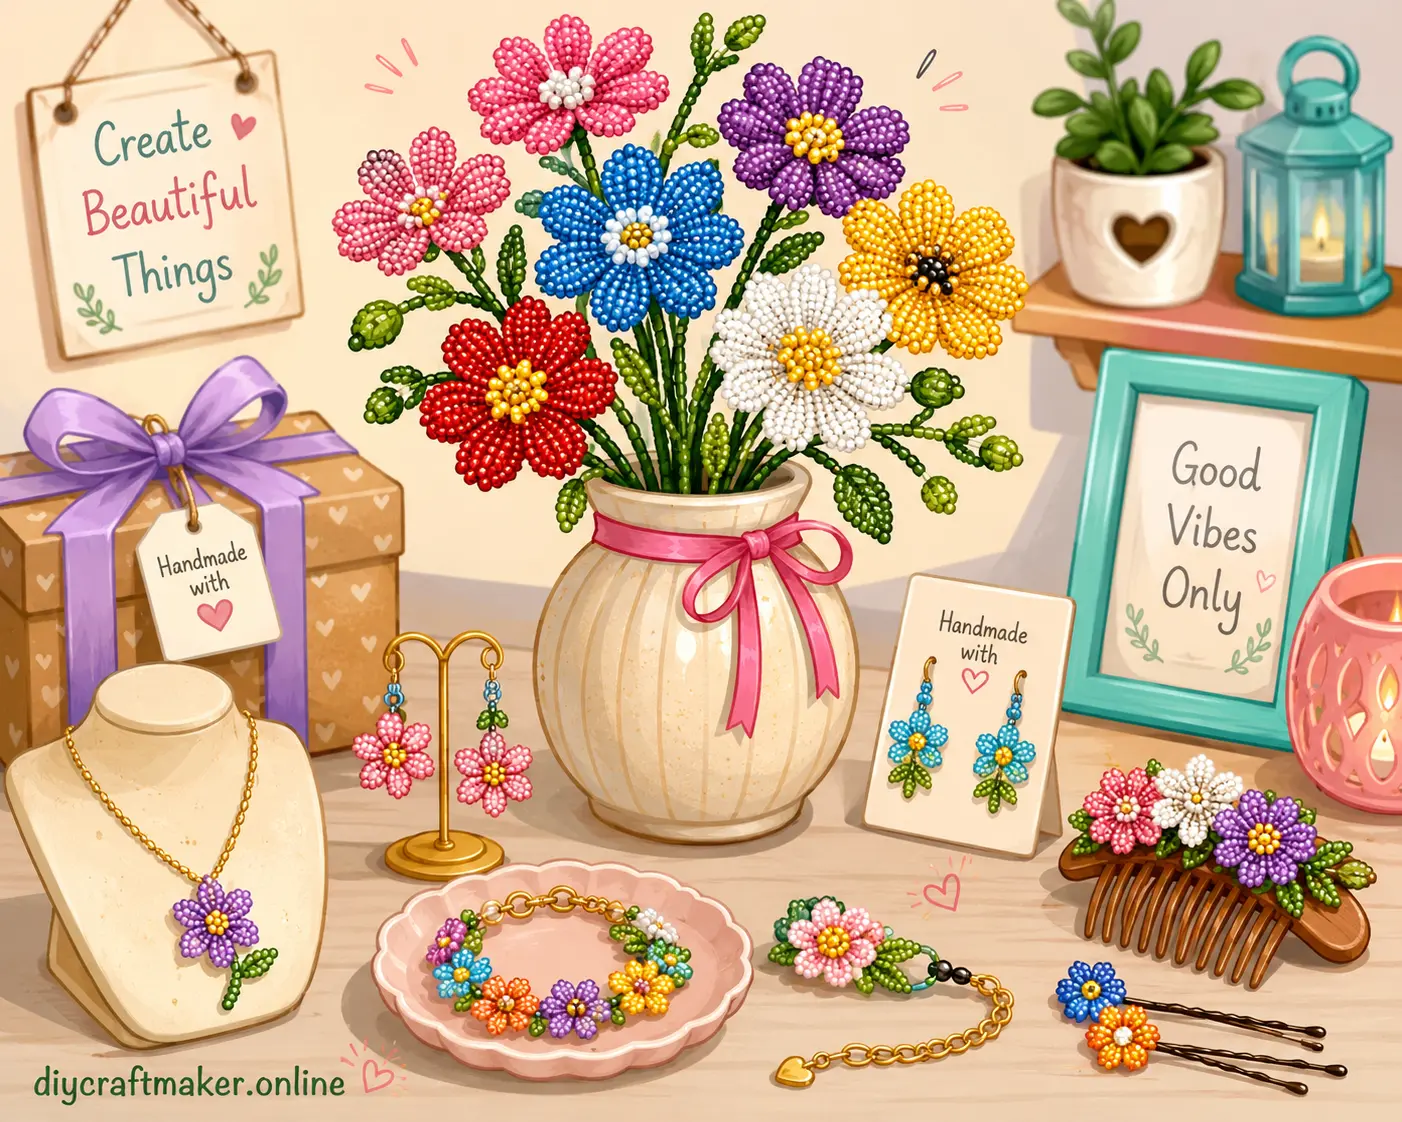
They make stunning additions to bridal bouquets because they remain beautiful indefinitely. They can be attached to hair accessories, greeting cards, picture frames, handbags, and jewelry designs. Some crafters create entire floral arrangements for home decoration, while others use individual blooms as focal points in mixed-media artwork.
The rise of personalized gifting and handmade décor has increased appreciation for crafts that tell a story. Handmade floral pieces offer emotional value that mass-produced decorations often lack. Recent crafting trend reports highlight growing consumer interest in customized gifts and decorative DIY projects, making beaded flowers especially relevant in today’s creative marketplace.
Whether displayed in a vase, incorporated into fashion accessories, or given as heartfelt gifts, beaded flowers combine artistry, craftsmanship, and durability in a way few other crafts can achieve.
Conclusion
Making a flower out of beads is much more than threading colorful pieces onto wire. It is an artistic process that blends design principles, structural engineering, and creative expression. By selecting appropriate bead sizes, choosing realistic colors, mastering wire techniques, maintaining symmetry, building strong centers, and layering petals effectively, you can create flowers that look surprisingly natural and elegant.
Every successful bloom begins with careful planning and attention to detail. As your skills improve, you’ll discover endless opportunities to experiment with colors, textures, and flower varieties. The beauty of beaded flower making lies in its combination of precision and creativity. Each finished flower becomes a lasting piece of art that reflects the maker’s imagination and craftsmanship.
FAQs
1. What beads are best for making flowers?
Seed beads are the most popular choice because they are lightweight, affordable, and available in many colors and finishes.
2. What wire gauge should beginners use?
Medium-gauge craft wire is often ideal because it provides a balance between flexibility and structural support.
3. How do I make my beaded flowers look more realistic?
Use multiple shades of color, vary bead sizes slightly, create layered petals, and add gentle curves during shaping.
4. Why do my petals look uneven?
Uneven wire tension, inconsistent bead counts, and lack of a template are common causes of asymmetrical petals.
5. Can beaded flowers be used outdoors?
They can be used outdoors temporarily, but prolonged exposure to sunlight, moisture, and weather may affect color and durability.

Merrick Lane is a 31-year-old American blogger from Fort Collins, Colorado. He writes in-depth content about DIY techniques, home maintenance, workshop safety, and creative improvement projects, combining careful fact-checking with approachable writing. As a regular contributor to diycraftmaker.online, he is committed to producing credible, experience-based articles that help readers complete projects safely and effectively.